Azure Marketplace Quickstart
This guide walks you through purchasing AGENTIC STAR from Azure Marketplace and completing the deployment. Simply enter your configuration values in the purchase form, and the entire process — from infrastructure provisioning to application installation — is handled automatically.
Prerequisites
- An Azure subscription
- Contributor role or higher on the subscription
- Required Resource Providers registered in the subscription (see below)
No prior setup of an AKS cluster or Helm is required. All infrastructure is automatically provisioned at purchase time.
Required Azure Resource Providers
Deploying this product requires the following Resource Providers to be registered in advance on your subscription. If any are unregistered, the deployment will fail with errors like MissingSubscriptionRegistration after 10–20 minutes.
| Resource Provider | Purpose |
|---|---|
Microsoft.Resources | ARM Template foundation (typically auto-registered) |
Microsoft.Authorization | Role assignments (RBAC) |
Microsoft.ManagedIdentity | User-Assigned Managed Identity |
Microsoft.Network | VNet / Subnet / NSG / Public IP |
Microsoft.Compute | VMSS backing AKS nodes |
Microsoft.ContainerService | AKS cluster |
Microsoft.ContainerInstance | ACI used for the Deployment Script at deploy time |
Microsoft.Storage | Storage Accounts (Private / Public) |
Microsoft.DBforPostgreSQL | PostgreSQL Flexible Server |
Microsoft.OperationalInsights | Log Analytics Workspace |
Microsoft.Insights | Container Insights / Data Collection Rules |
Microsoft.CognitiveServices | Azure AI Services (Content Safety / PII) |
Check Registration Status
# Show the registration state for the relevant providers
az provider list --query "[?contains(['Microsoft.Resources','Microsoft.Authorization','Microsoft.ManagedIdentity','Microsoft.Network','Microsoft.Compute','Microsoft.ContainerService','Microsoft.ContainerInstance','Microsoft.Storage','Microsoft.DBforPostgreSQL','Microsoft.OperationalInsights','Microsoft.Insights','Microsoft.CognitiveServices'], namespace)].{Provider:namespace, State:registrationState}" -o table
Register Missing Providers
# Register individually
az provider register --namespace Microsoft.ContainerInstance
az provider register --namespace Microsoft.Storage
az provider register --namespace Microsoft.Compute
# ... repeat for any other unregistered providers
az provider register is idempotent — already-registered providers are a no-op. Registration can take several minutes; wait until every provider is in the Registered state before starting the deployment.
Steps
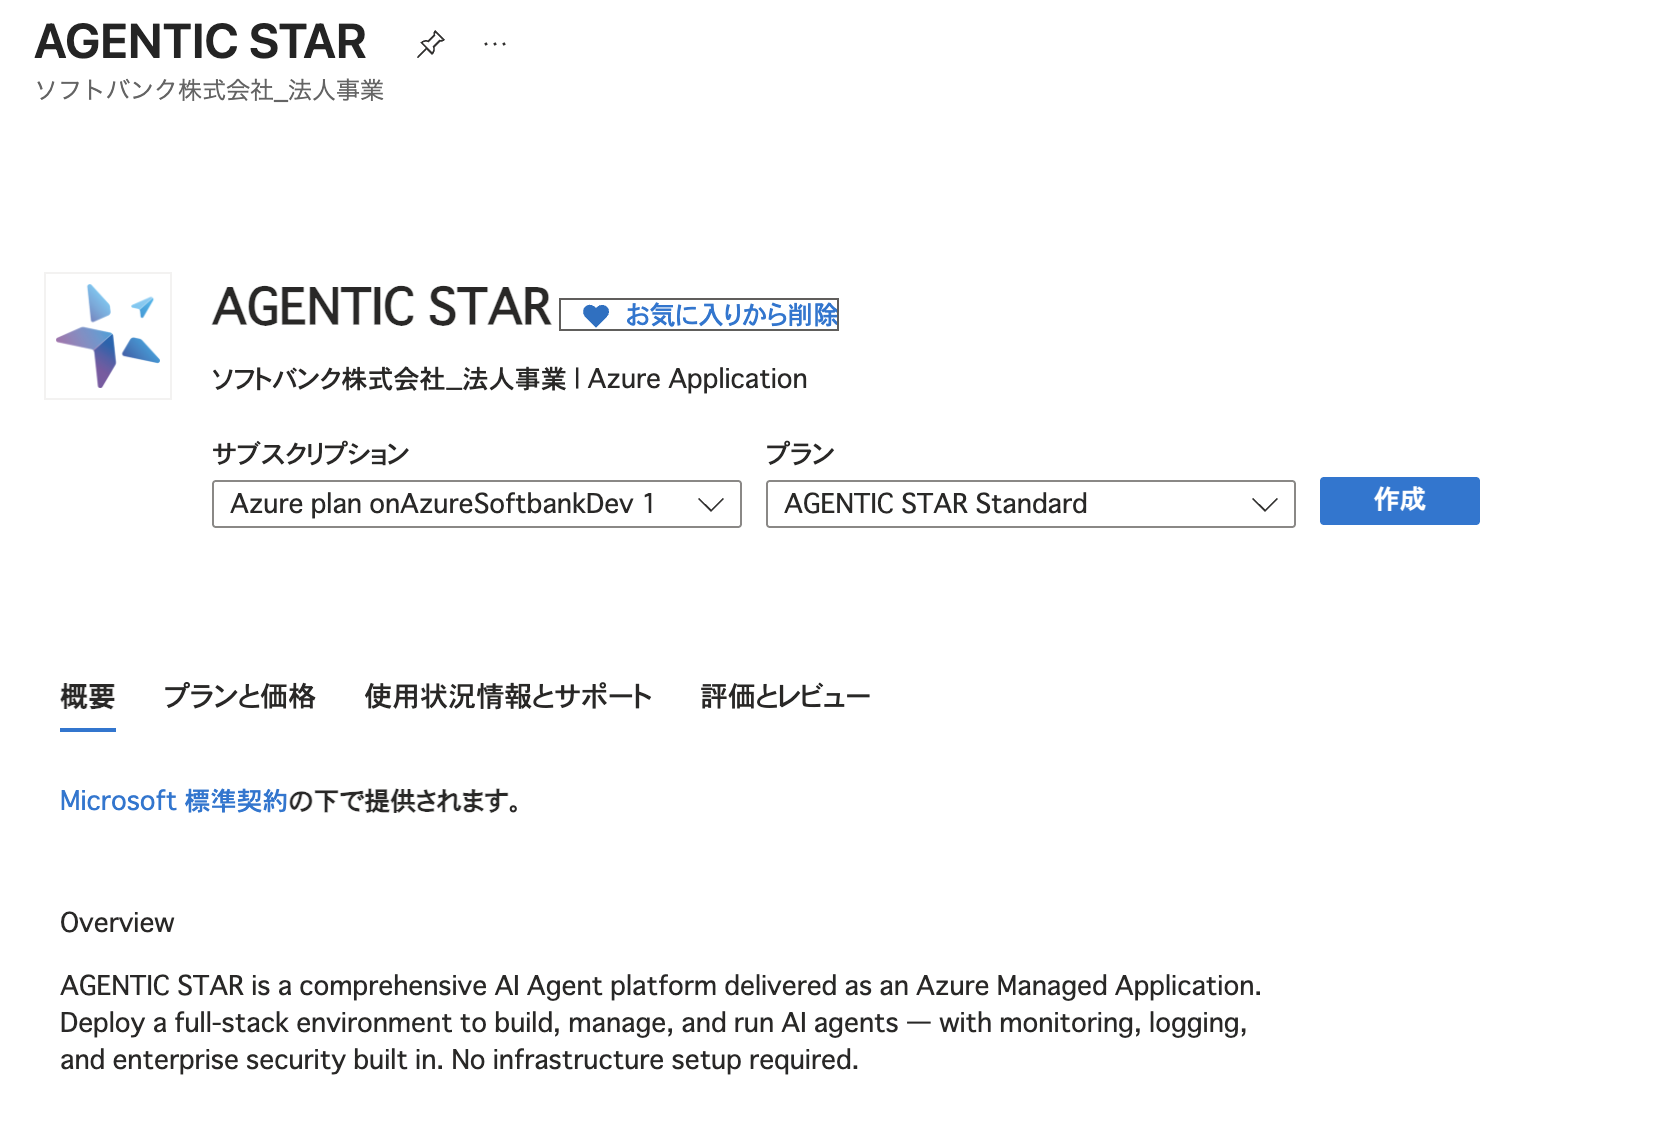
1. Search for AGENTIC STAR on Azure Marketplace
Search for "AGENTIC STAR" on Azure Marketplace, select a plan, and click [Create].
2. Basics
Enter the standard Azure basic settings.
| Field | Description |
|---|---|
| Subscription | The Azure subscription to deploy to |
| Resource group | Create a new one or select an existing resource group |
| Region | The deployment region |
3. General
| Field | Description | Default | Constraints |
|---|---|---|---|
| Environment Name | Identifier for the environment | agenticstar | 3–21 characters, lowercase alphanumeric and hyphens |
| Managed Identity Name | Name of the managed identity | agtstr-id | 3–128 characters, lowercase alphanumeric and hyphens |
| AKS Cluster Name | Name of the AKS cluster | agtstr-aks | 3–63 characters, lowercase alphanumeric and hyphens |
| Administrator Email | Email address of the initial administrator | — | Valid email address |
| Administrator Password | Password for the initial administrator | — | 12–128 characters, must include at least one uppercase letter, one lowercase letter, one digit, and one special character |
| Primary Language | UI display language | Japanese | Japanese / English / Français / Español / ไทย |
4. PostgreSQL Settings
| Field | Description | Default | Constraints |
|---|---|---|---|
| PostgreSQL Server Name | Server name (must be globally unique) | agtstr-pg | 3–63 characters, must start with a lowercase letter |
| PostgreSQL Admin Username | Database administrator username | — | 1–63 characters, cannot start with pg_ |
| PostgreSQL Admin Password | Database administrator password | — | 12–128 characters, must include at least one uppercase letter, one lowercase letter, one digit, and one special character |
| PostgreSQL VM Size | Server specification | Standard_D2ds_v4 | See below |
| PostgreSQL High Availability | High availability mode | Disabled | See below |
PostgreSQL VM Size Options
| Size | Specification | Use Case |
|---|---|---|
Standard_D2ds_v4 | 2 vCPU / 8 GiB RAM | Development and testing environments |
Standard_D4ds_v4 | 4 vCPU / 16 GiB RAM | Small to medium production environments |
Standard_D8ds_v4 | 8 vCPU / 32 GiB RAM | Large production environments |
High Availability Options
| Mode | Description |
|---|---|
| Disabled | No HA (lowest cost) |
| Same Zone | Replica within the same zone |
| Zone Redundant | Zone-redundant (recommended for production; doubles compute cost) |
5. AKS Advanced Settings (Optional)
Check "Customize AKS Advanced Settings" to reveal detailed AKS node pool settings. In most cases, the default settings are sufficient.
Selecting a VM size smaller than recommended may cause resource shortages.
System Pool
| Field | Default | Range |
|---|---|---|
| Node Count | 1 | 1–20 |
| Min Count (Autoscaler) | 1 | 1–20 |
| Max Count (Autoscaler) | 8 | 1–100 |
| VM Size | Standard_D8ds_v4 | — |
User Pool
| Field | Default | Range |
|---|---|---|
| Node Count | 1 | 1–50 |
| Min Count (Autoscaler) | 1 | 1–50 |
| Max Count (Autoscaler) | 10 | 1–100 |
| VM Size | Standard_D8ds_v4 | — |
6. Datadog Integration (Optional)
Check "Enable Datadog Integration" to reveal the Datadog integration settings.
| Field | Description |
|---|---|
| Datadog API Key | Your Datadog API key |
| Datadog Application Key | Your Datadog application key |
| Datadog Site | Datadog site (AP1 / US1 / US3 / US5 / EU1) |
7. Review and Deploy
Review all settings and click [Create] to start the deployment.
The deployment automatically creates the following resources:
- AKS Cluster (System Pool + User Pool with autoscaler)
- PostgreSQL Flexible Server (v16, with extensions such as pgvector pre-installed)
- Storage Accounts (two: one private and one public)
- Virtual Network / NSG (network isolation pre-configured)
- Log Analytics Workspace (Container Insights integration enabled)
- Azure AI Services
- AGENTIC STAR application suite (automatically installed via Helm charts)
Deployment takes approximately 1 hour. You can monitor progress on the Azure Portal deployment page.
After Deployment
Checking Access IP Addresses
Once deployment is complete, check the IP addresses for each application. AGENTIC STAR creates 4 LoadBalancer services for different purposes.
kubectl get svc -n ingress-nginx -o wide | grep LoadBalancer
| Service Name | Purpose | Access URL |
|---|---|---|
ingress-nginx-front | Main application | https://<EXTERNAL-IP> |
ingress-nginx-admin | Admin console | https://<EXTERNAL-IP> |
ingress-nginx-extapi | API endpoint | https://<EXTERNAL-IP> |
The login page (ingress-nginx-auth) is intentionally omitted: due to how OAuth redirects work, opening it directly does not produce a working post-login navigation. Always start from the main application URL — the login page is invoked automatically when authentication is required.
Since self-signed certificates are used, your browser will display certificate warnings. Accept the warning to proceed on first access.
To configure custom domains, register each LoadBalancer IP address in your DNS using A records. See the Domain Settings Guide for details.
Azure Standard Load Balancer assigns a static Public IP, so the EXTERNAL-IP column shows an IP address directly. The AWS Marketplace edition uses Network Load Balancers, which return an ELB DNS name instead, and DNS records must be configured as CNAMEs rather than A records. See the AWS Marketplace Quickstart for details.
Logging In
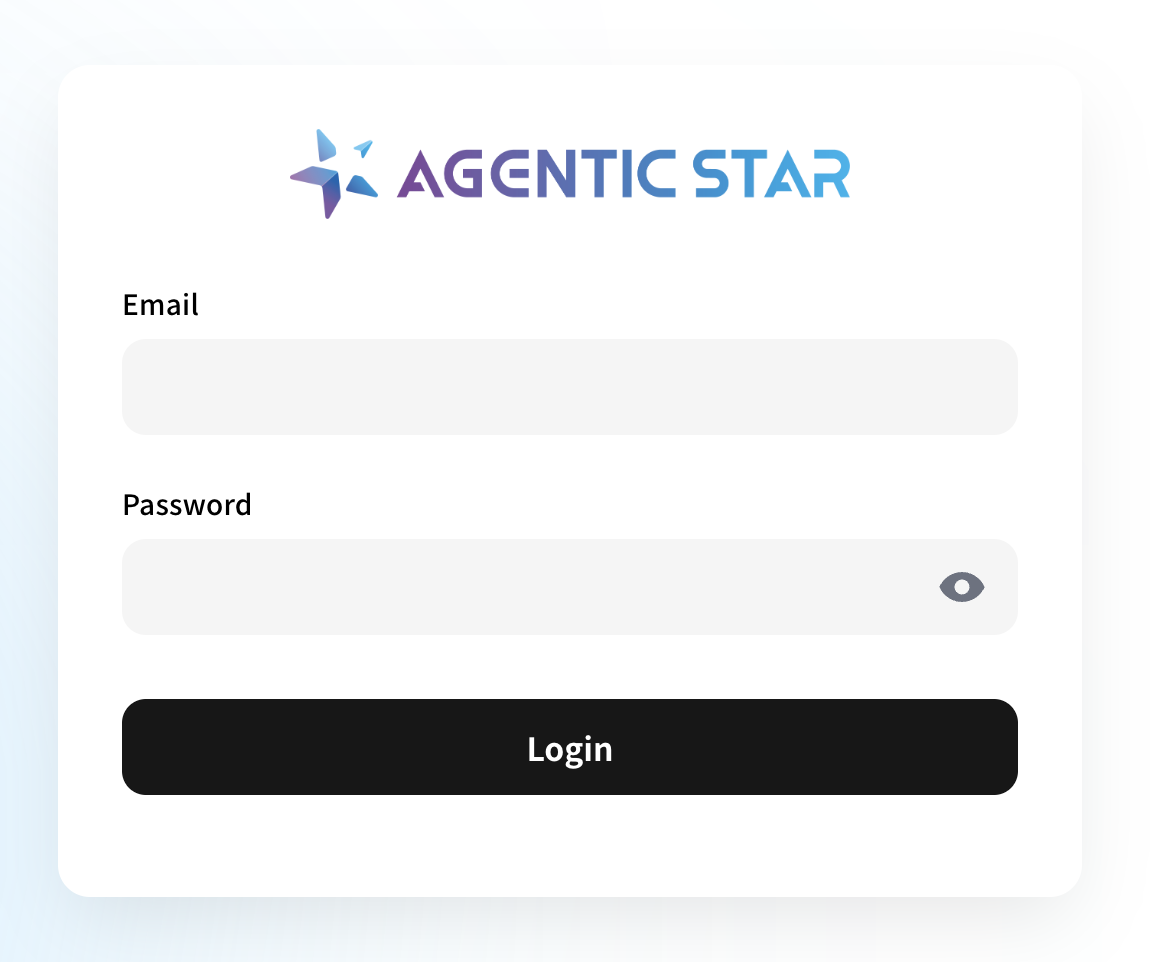
Access the admin console IP address in your browser and log in with the Administrator Email and Administrator Password you entered in the purchase form.
As a next step, perform the initial setup in the admin console. See the Settings Guide for details.
To start using the API, see the Marketplace API Quickstart.